Admin web UI
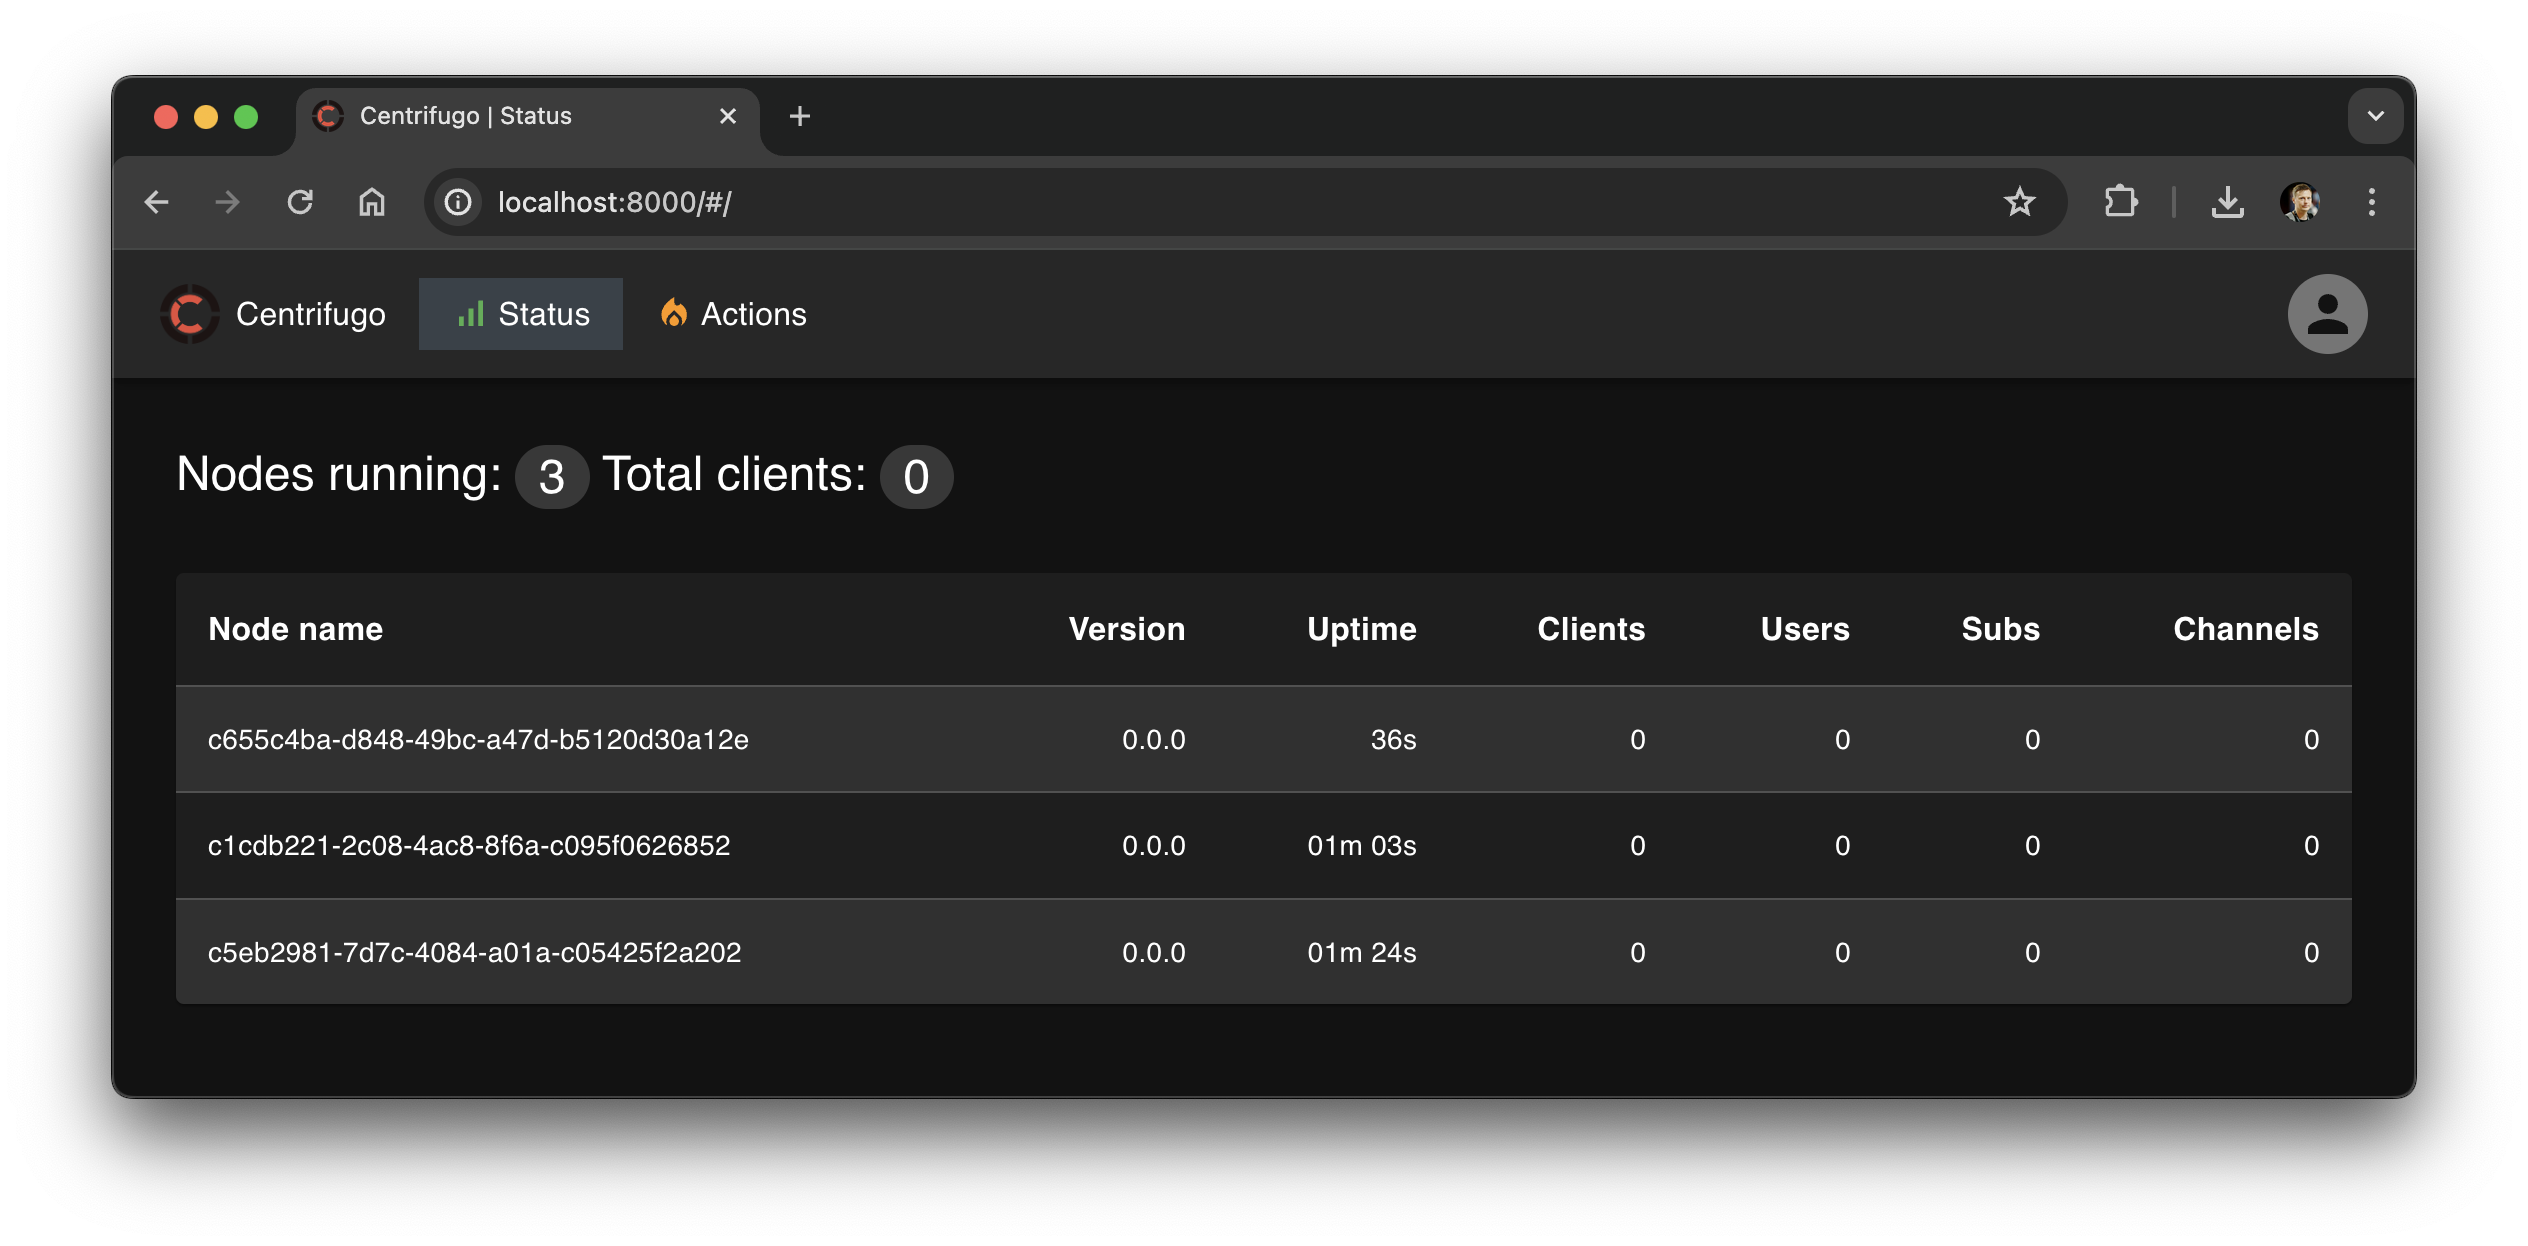
Centrifugo comes with a built-in administrative web interface. It enables users to:
- Display general information and statistics from server nodes - including the number of connections, unique users, subscriptions, and unique channels, among others
- Execute commands such as
publish,broadcast,subscribe,unsubscribe,disconnect,history,history_remove,presence,presence_stats,info,channels, along with several additional Centrifugo PRO server API commands. - Trace connections in real-time (a feature of Centrifugo PRO).
- View analytics widgets (a feature of Centrifugo PRO).
- Visualize registered devices for push notifications (a feature of Centrifugo PRO).
How to enable
To activate the administrative web interface, run Centrifugo with the admin UI enabled and configure security settings in the configuration file:
{
  "admin": {
    "enabled": true,
    "password": "<PASSWORD>",
    "secret": "<SECRET>"
  }
}
After configuring, restart Centrifugo and go to http://localhost:8000 (by default) - you should see web interface.
Although there is a password based authentication a good advice is to protect web interface by firewall rules in production.
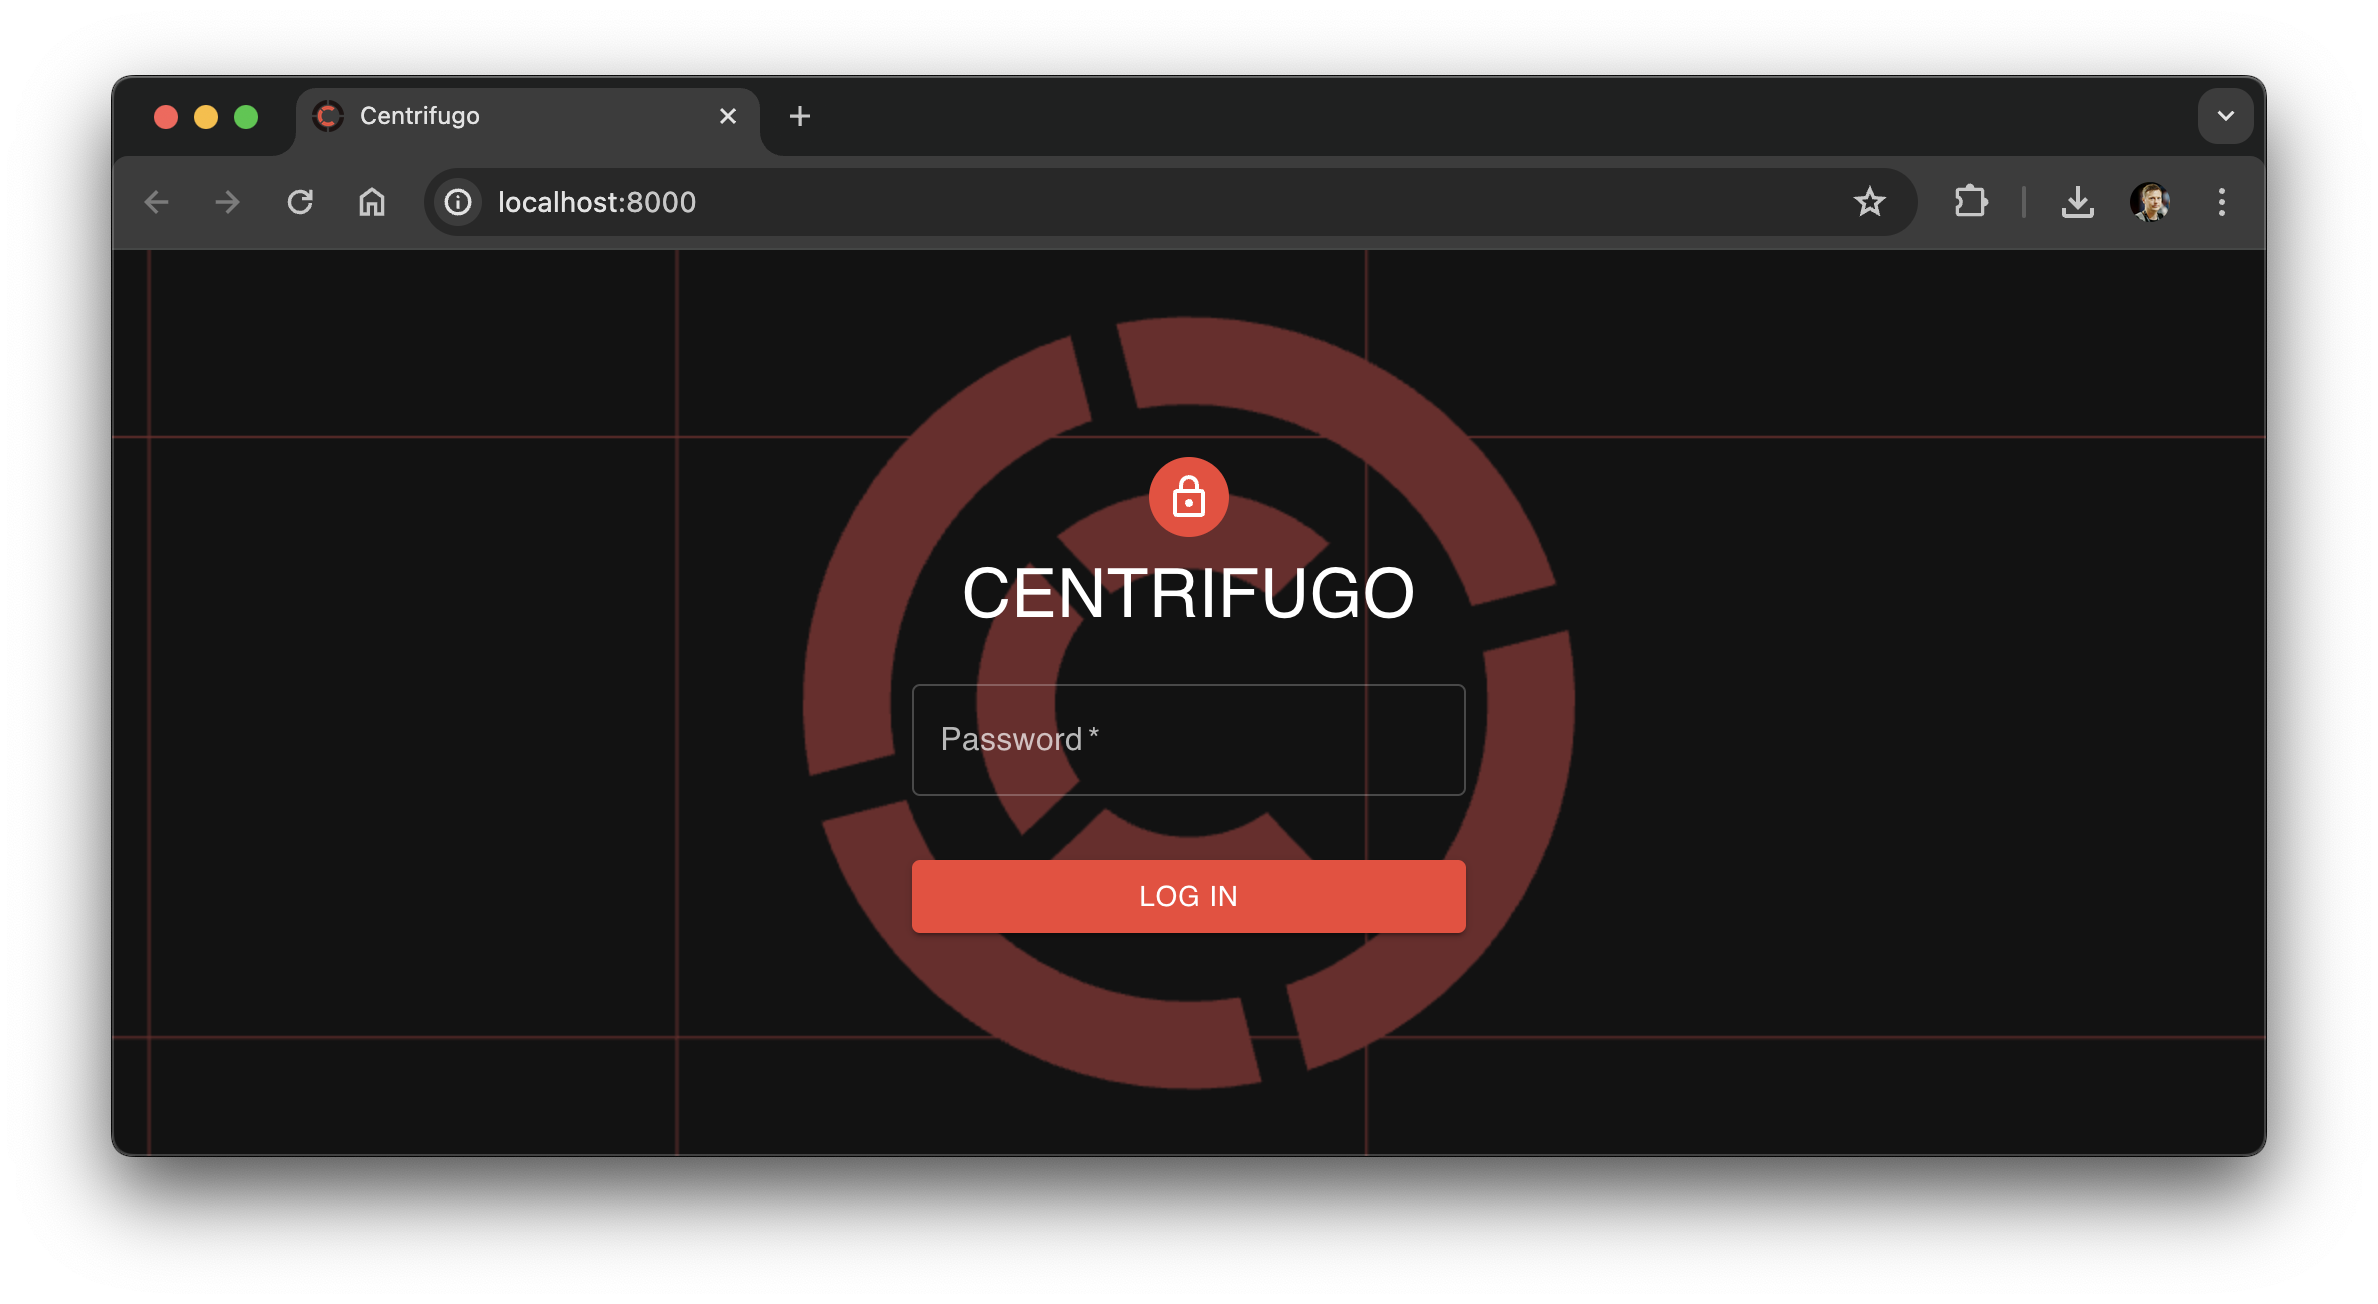 Log in using
 admin.password value:
Centrifugo PRO supports Single Sign-On (SSO) authentication for web interface using OpenID Connect (OIDC) protocol.
admin
admin.enabled
Boolean, default: false.
Enables the admin web interface.
{
    "admin": {
        "enabled": true
    }
}
admin.password
String, default: "".
This is the password to log into the admin web interface.
Make it strong and keep it in secret!
admin.secret
String, default: "".
This is the secret key for the authentication token used after successful login.
Make it strong and keep it in secret!
admin.insecure
Boolean, default: false.
Enables insecure mode for the admin web interface. In this mode, no authentication is required to connect to the web interface or make requests to the admin API. Admin resources must be protected by firewall rules in production when this option is enabled, otherwise, everyone from the internet can make admin actions.
See Admin insecure mode for more details.
admin.handler_prefix
String, default: "".
Customize handler prefix for admin web interface. By default, the admin web interface is served at the root path /. If you want to serve the admin web interface at a different path, you can set this option to the desired path, ex.:
{
  "admin": {
    ...
    "handler_prefix": "/admin"
  }
}
admin.web_path
String, default: "".
Path to the admin web application to serve. If not set then the built-in web interface will be used. See Using custom web interface for more details.
admin.web_proxy_address
String, default: "".
An address for proxying to the running admin web application app. So it's possible to run the web app in dev mode and point Centrifugo to its address for development purposes.
admin.external
Boolean, default: false.
A flag to run the admin interface on an external port.
Using custom web interface
If you want to use custom web interface you can specify path to web interface directory dist:
{
  "admin": {
    "enabled": true,
    "password": "<PASSWORD>",
    "secret": "<SECRET>",
    "web_path": "<PATH_TO_WEB_DIST>"
  }
}
This can be useful if you want to modify official web interface code in some way and test it with Centrifugo.
Admin insecure mode
This option is insecure and mostly intended for development. In case of using in production – please make sure you understand the possible security risks.
There is also an option to run Centrifugo in insecure admin mode. In this mode, it's unnecessary to set admin.password and admin.secret in the configuration – you will be automatically logged into the web interface without any password. Note that this mode should only be considered for production if you have protected the admin web interface with firewall rules. Without such protection, anyone on the internet would have full access to the admin functionalities described above. To enable insecure admin mode:
{
  "admin": {
    "enabled": true,
    "insecure": true
  }
}