Quickstart tutorial
In this tutorial we'll build a simple browser app where all open tabs receive real-time counter updates via WebSocket. It takes about 5 minutes.
1. Install and generate config
Install Centrifugo, then generate a config file:
./centrifugo genconfig
This creates config.json with randomly generated keys:
{
  "client": {
    "token": {
      "hmac_secret_key": "bbe7d157-a253-4094-9759-06a8236543f9"
    },
    "allowed_origins": []
  },
  "http_api": {
    "key": "d7627bb6-2292-4911-82e1-615c0ed3eebb"
  },
  "admin": {
    "enabled": false,
    "password": "d0683813-0916-4c49-979f-0e08a686b727",
    "secret": "4e9eafcf-0120-4ddd-b668-8dc40072c78e"
  }
}
Your values will be different — that's expected.
2. Update the config
Before starting the server, make three changes so everything works on the first try:
{
  "client": {
    "token": {
      "hmac_secret_key": "bbe7d157-a253-4094-9759-06a8236543f9"
    },
    "allowed_origins": ["http://localhost:3000"]
  },
  "http_api": {
    "key": "d7627bb6-2292-4911-82e1-615c0ed3eebb"
  },
  "admin": {
    "enabled": true,
    "password": "d0683813-0916-4c49-979f-0e08a686b727",
    "secret": "4e9eafcf-0120-4ddd-b668-8dc40072c78e"
  },
  "channel": {
    "without_namespace": {
      "allow_subscribe_for_client": true
    }
  }
}
What we changed and why:
admin.enabled: true— enables the admin web UI at http://localhost:8000allowed_origins— allows browser connections from our app's origin. This is a security setting that prevents unauthorized cross-origin WebSocket connectionsallow_subscribe_for_client— lets authenticated clients subscribe to channels. In production you'd use channel namespaces for granular control
3. Generate a connection token
Clients authenticate with a JWT token. In production, your backend generates these tokens. For this tutorial, use the built-in helper:
./centrifugo gentoken -u 123722
Output:
HMAC SHA-256 JWT for user "123722" with expiration TTL 168h0m0s:
eyJhbGciOiJIUzI1NiIsInR5cCI6IkpXVCJ9.eyJzdWIiOiIxMjM3MjIiLCJleHAiOjE2NTU0NDgyOTl9.mUU9s5kj3yqp-SAEqloGy8QBgsLg0llA7lKUNwtHRnw
Copy the token — you'll need it in the next step.
You can also generate a connection token right in your browser — paste your hmac_secret_key, copy the token, and continue below.
The generated token has an expiration time. In a real application your backend generates tokens, and the client SDK automatically refreshes them using the getToken callback — see client SDK token refresh for details.
4. Create the app
Create an index.html file, replacing <TOKEN> with the token from the previous step:
<html>

<head>
  <title>Centrifugo quick start</title>
</head>

<body>
  <div id="counter">-</div>
  <script src="https://unpkg.com/centrifuge@5.4.0/dist/centrifuge.js"></script>
  <script type="text/javascript">
    const container = document.getElementById('counter');

    const centrifuge = new Centrifuge("ws://localhost:8000/connection/websocket", {
      token: "<TOKEN>"
    });

    centrifuge.on('connecting', function (ctx) {
      console.log(`connecting: ${ctx.code}, ${ctx.reason}`);
    }).on('connected', function (ctx) {
      console.log(`connected over ${ctx.transport}`);
    }).on('disconnected', function (ctx) {
      console.log(`disconnected: ${ctx.code}, ${ctx.reason}`);
    }).connect();

    const sub = centrifuge.newSubscription("channel");

    sub.on('publication', function (ctx) {
      container.innerHTML = ctx.data.value;
      document.title = ctx.data.value;
    }).on('subscribing', function (ctx) {
      console.log(`subscribing: ${ctx.code}, ${ctx.reason}`);
    }).on('subscribed', function (ctx) {
      console.log('subscribed', ctx);
    }).on('unsubscribed', function (ctx) {
      console.log(`unsubscribed: ${ctx.code}, ${ctx.reason}`);
    }).subscribe();
  </script>
</body>

</html>
This code connects to Centrifugo over WebSocket, subscribes to a channel called channel, and updates the page whenever a new message arrives. We also handle connection and subscription state transitions — see client SDK spec for details.
We're using centrifuge-js 5.4.0 from CDN here. In a real app you'd install it from NPM — see centrifuge-js on GitHub.
5. Start everything
Start the Centrifugo server:
./centrifugo --config=config.json
In a separate terminal, serve the HTML file. You can use Centrifugo's built-in static file server:
./centrifugo serve --port 3000
Or Python:
python3 -m http.server 3000
Open http://localhost:3000 — your app should connect successfully.
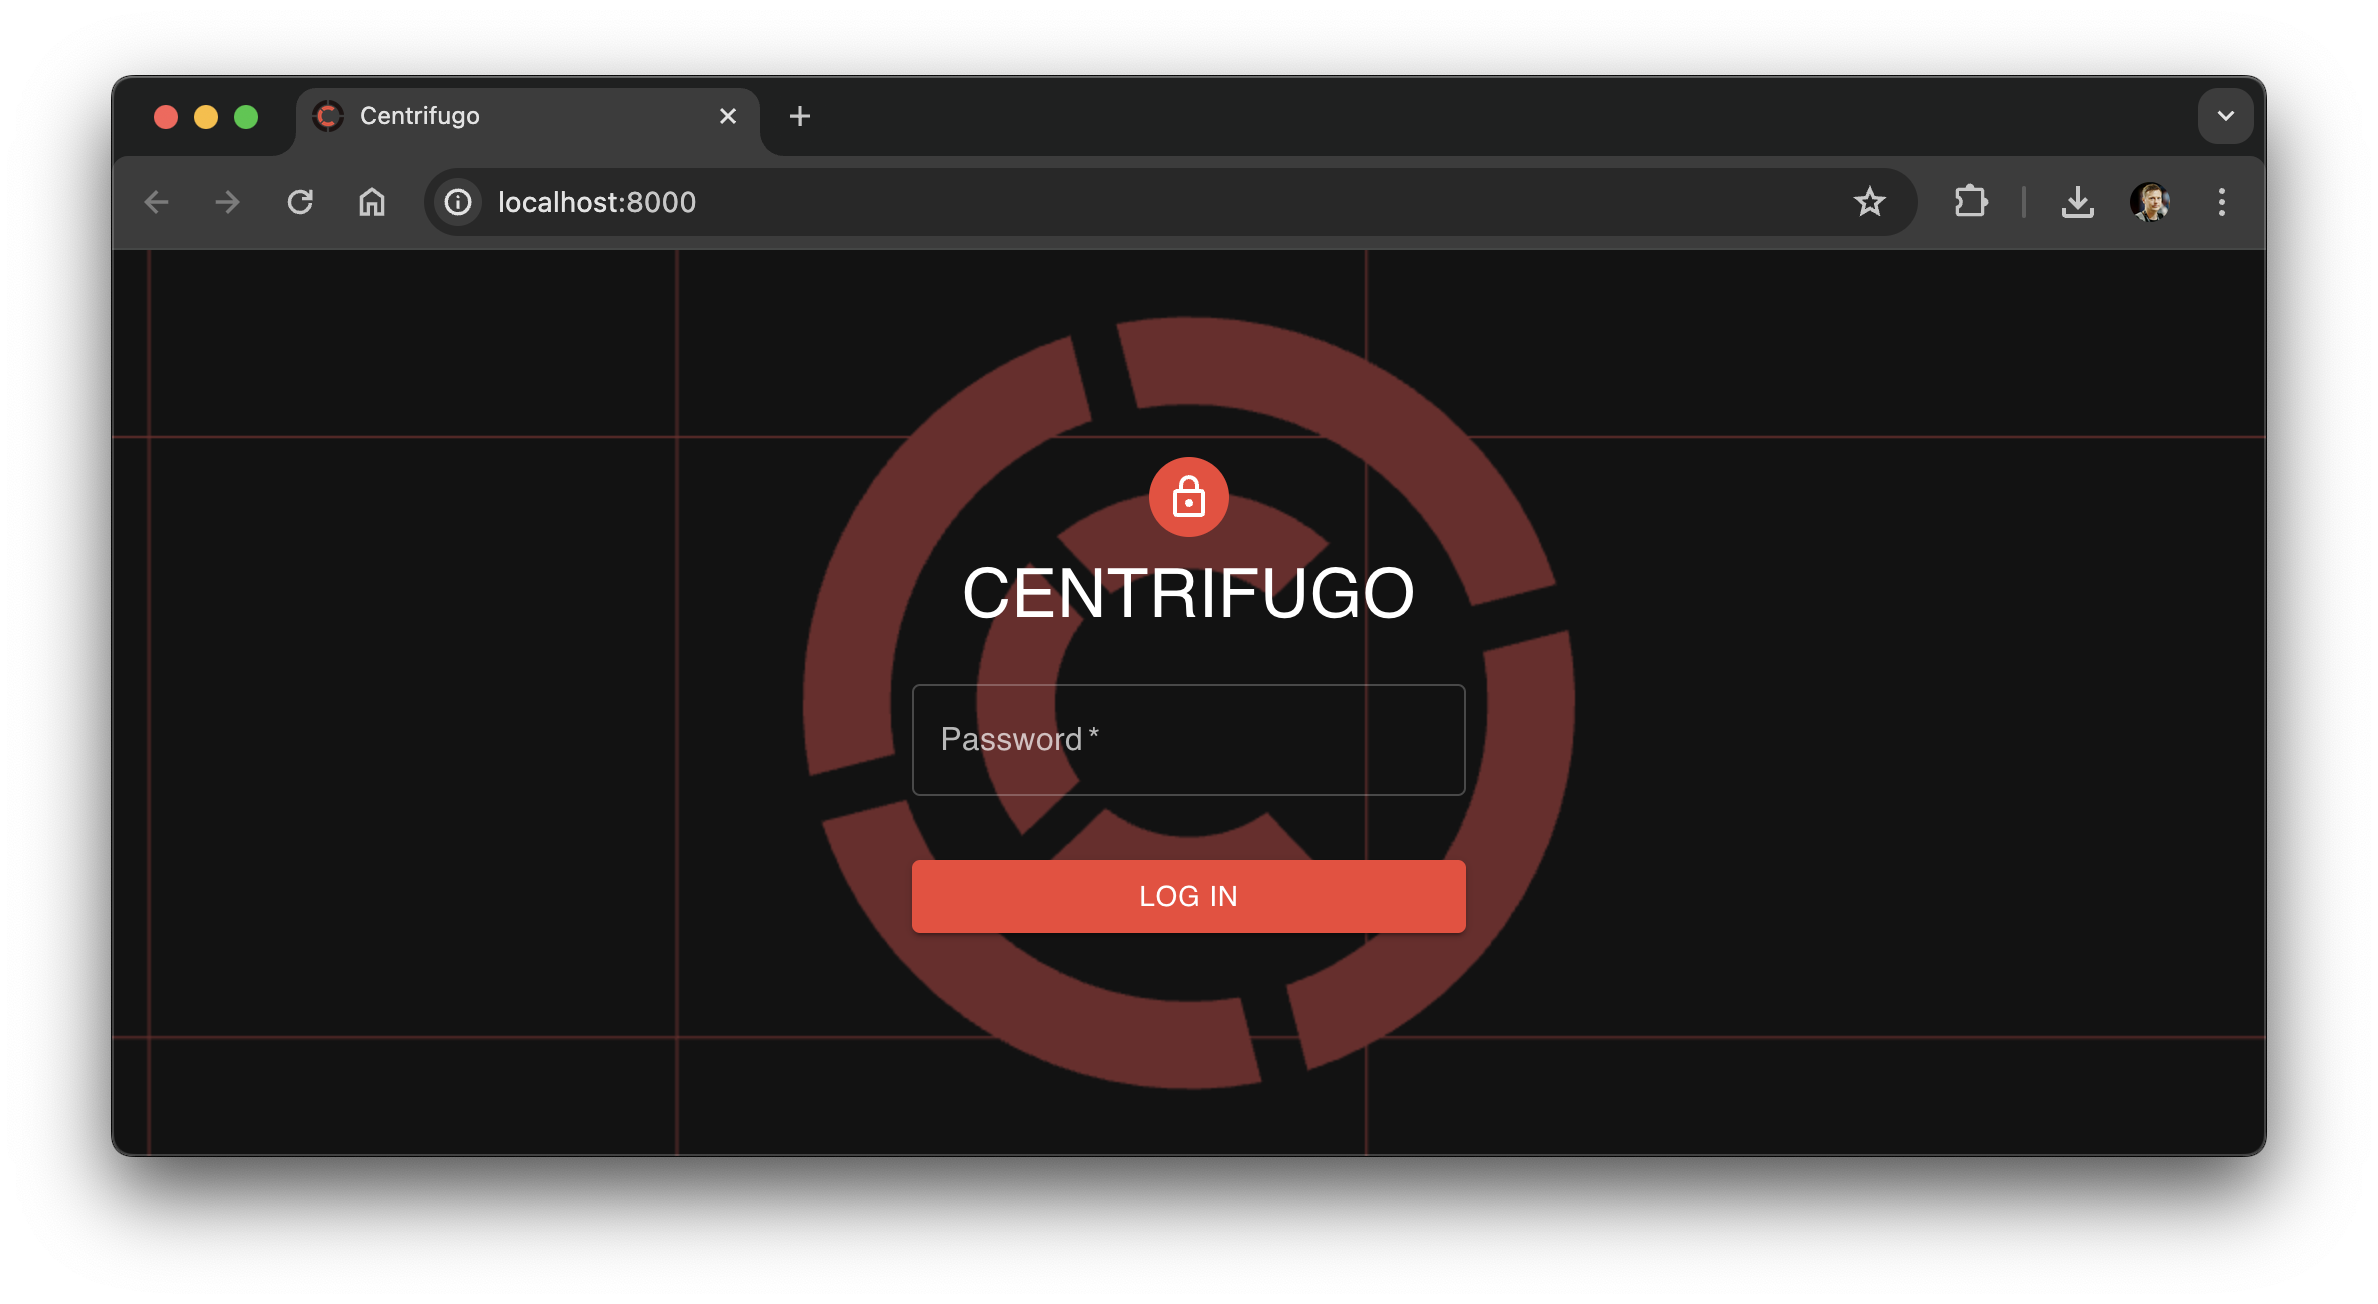
Now open http://localhost:8000 — you should see the Centrifugo admin web panel. Enter the admin.password value from your config to log in.
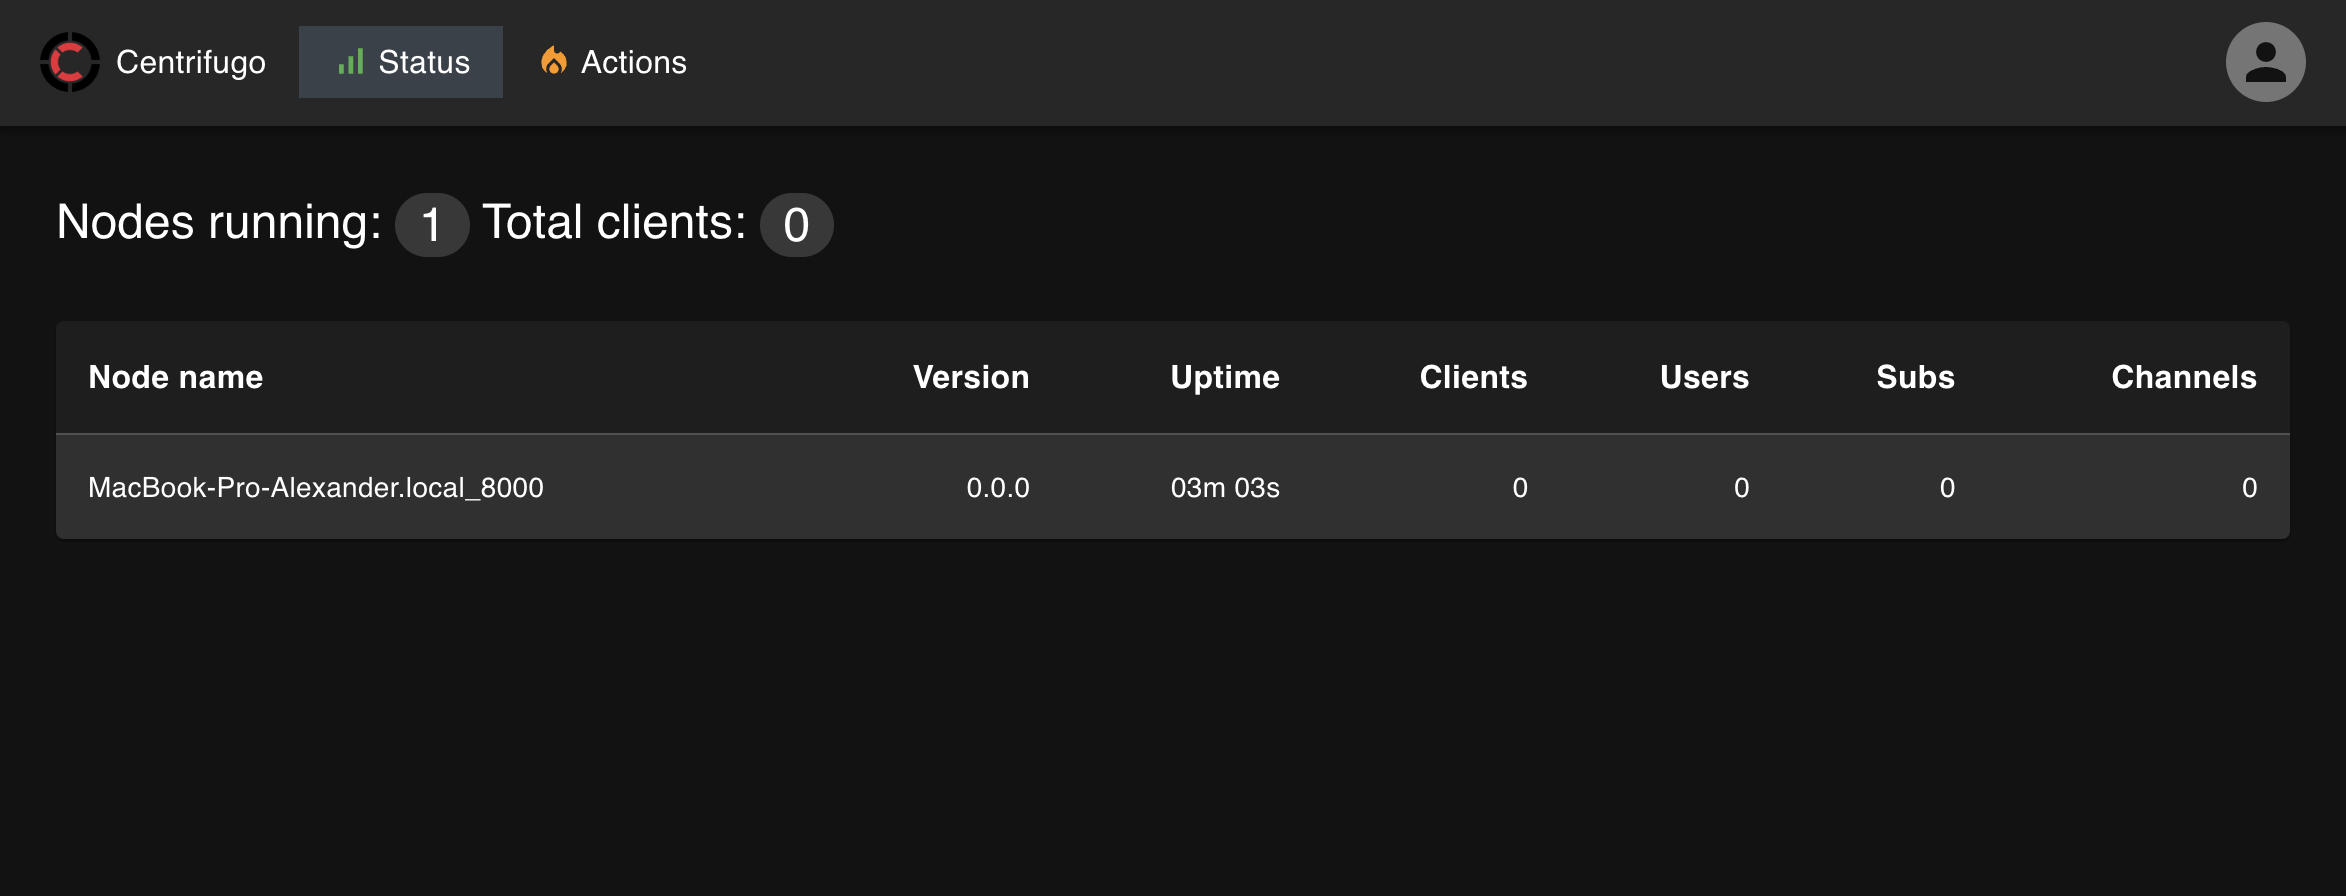
Inside the admin panel you should see that one Centrifugo node is running, and it should display one active client connection:
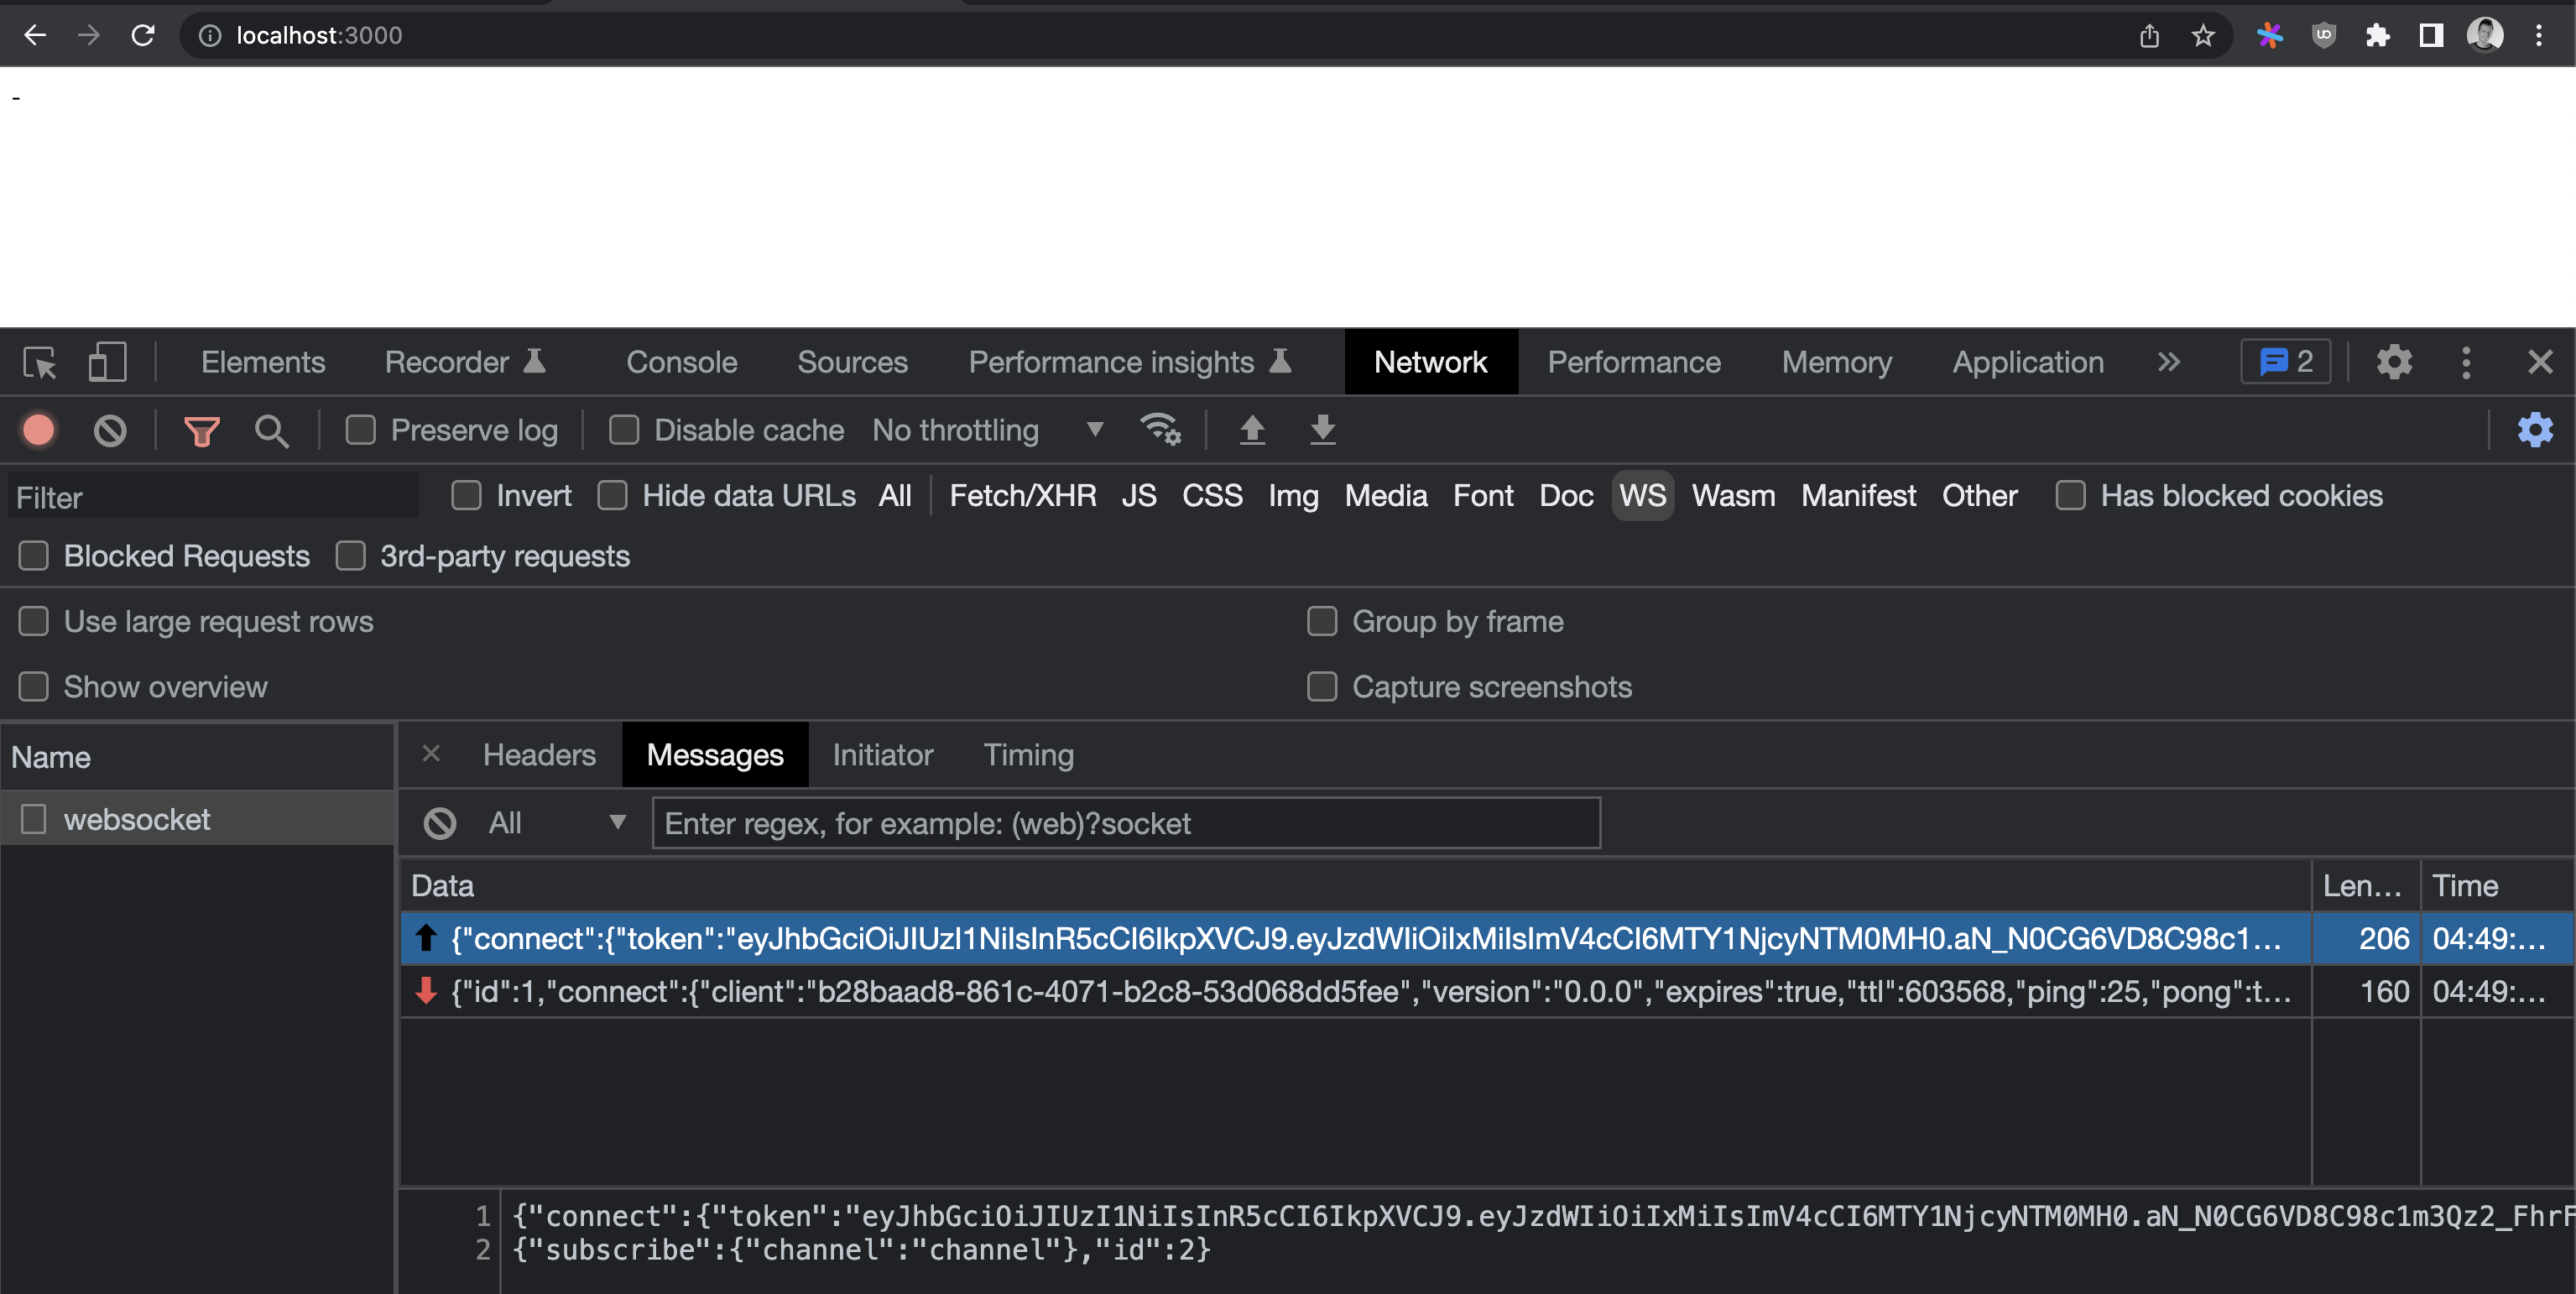
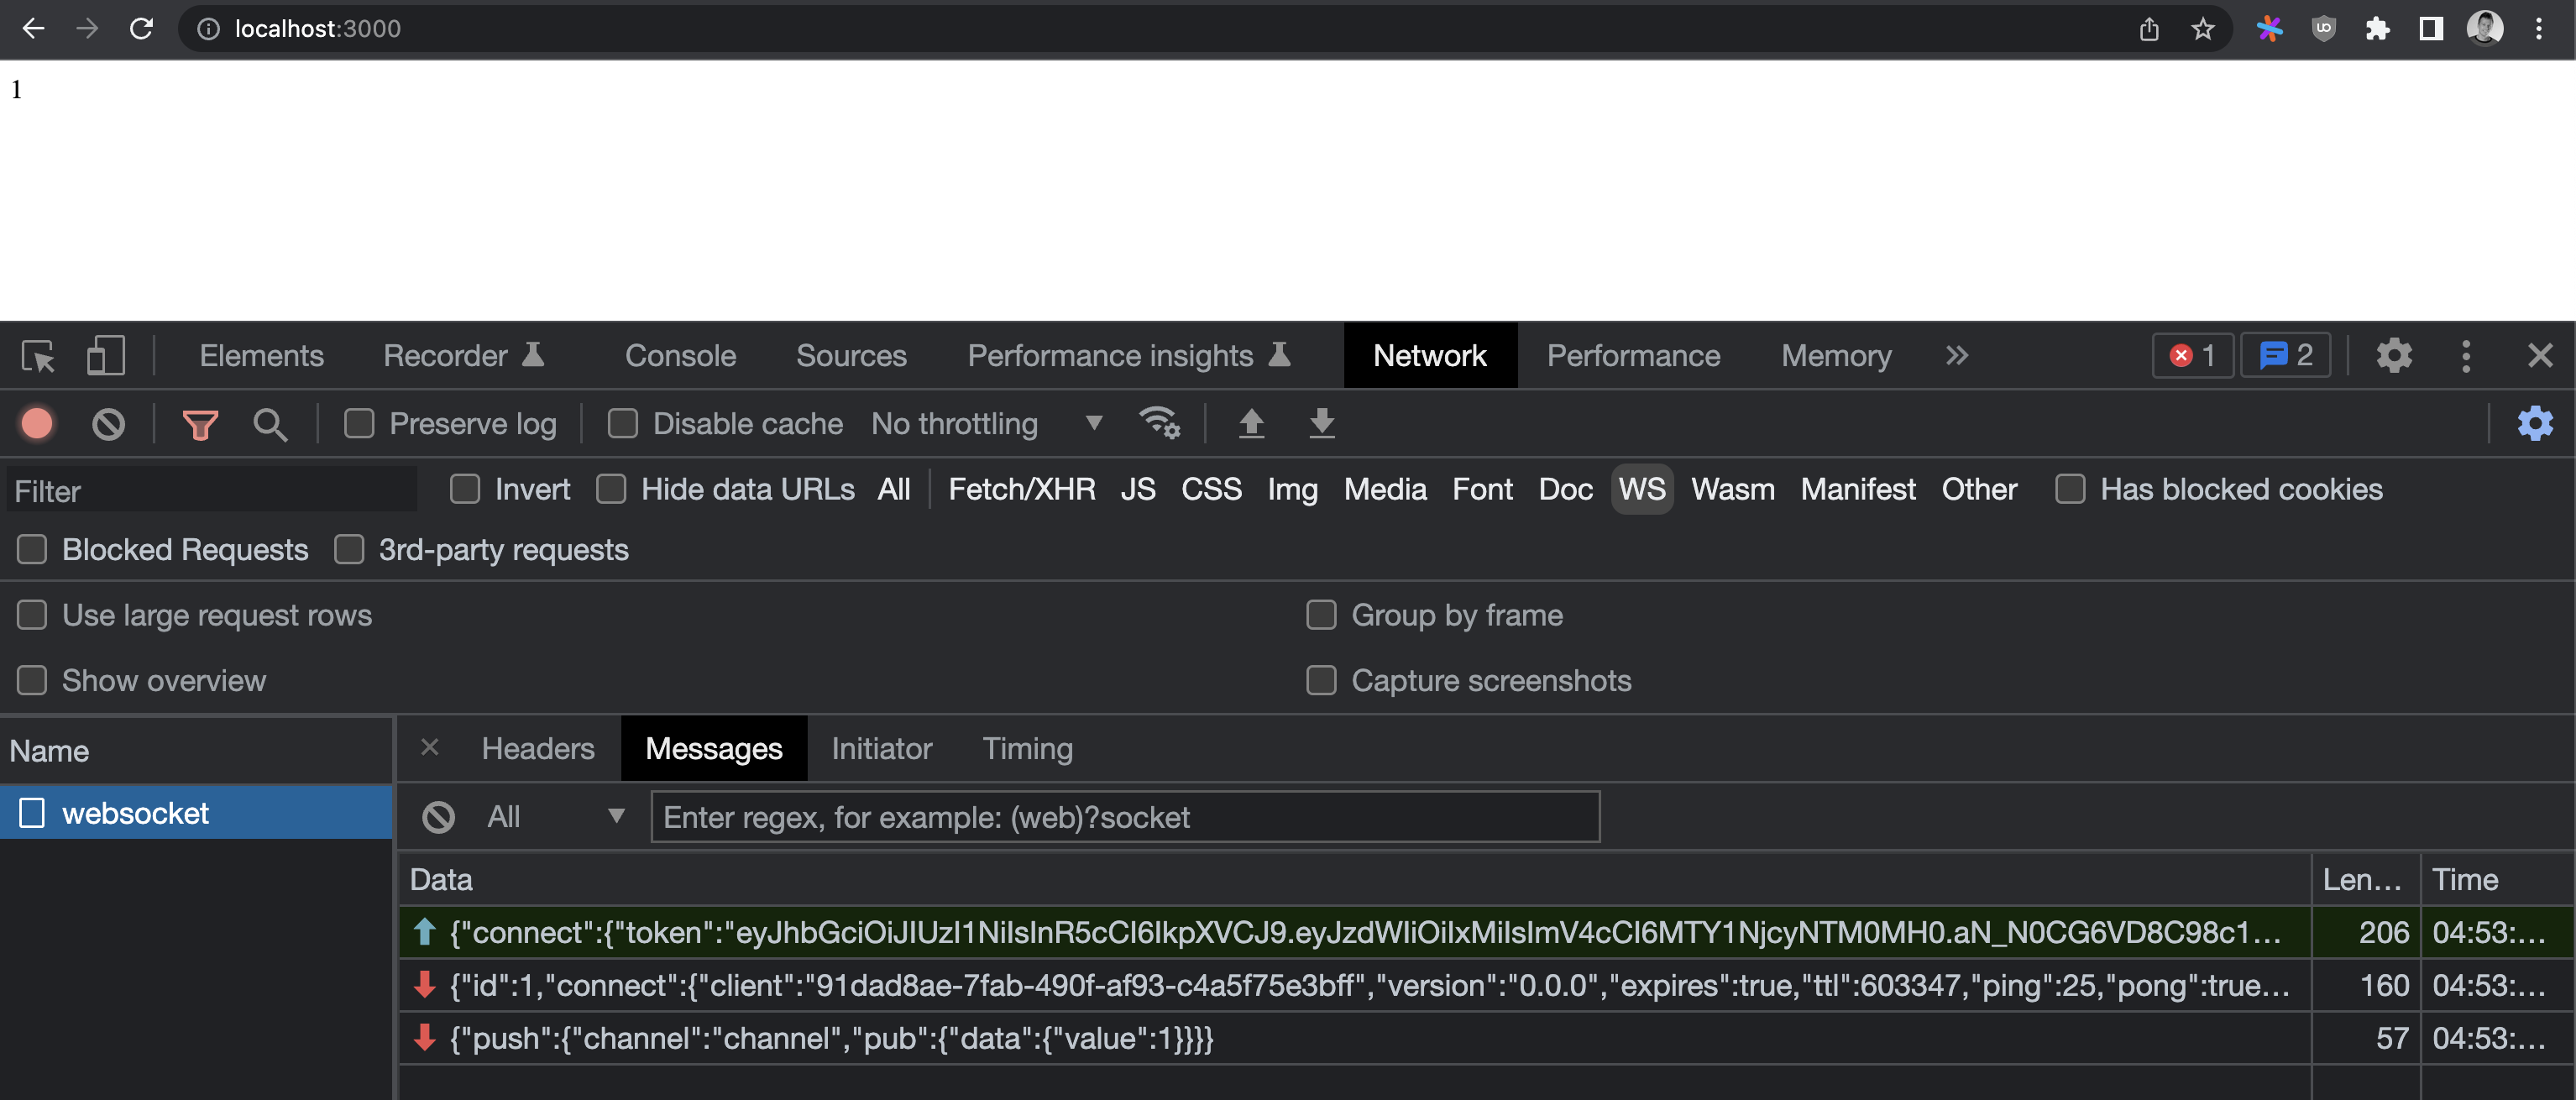
Open the developer tools in your browser and look at the WebSocket frames panel — you should see something like this:
6. Publish a message
Now let's send a real-time update. Open the admin panel, go to Actions, select publish, enter channel name channel and data:
{
    "value": 1
}
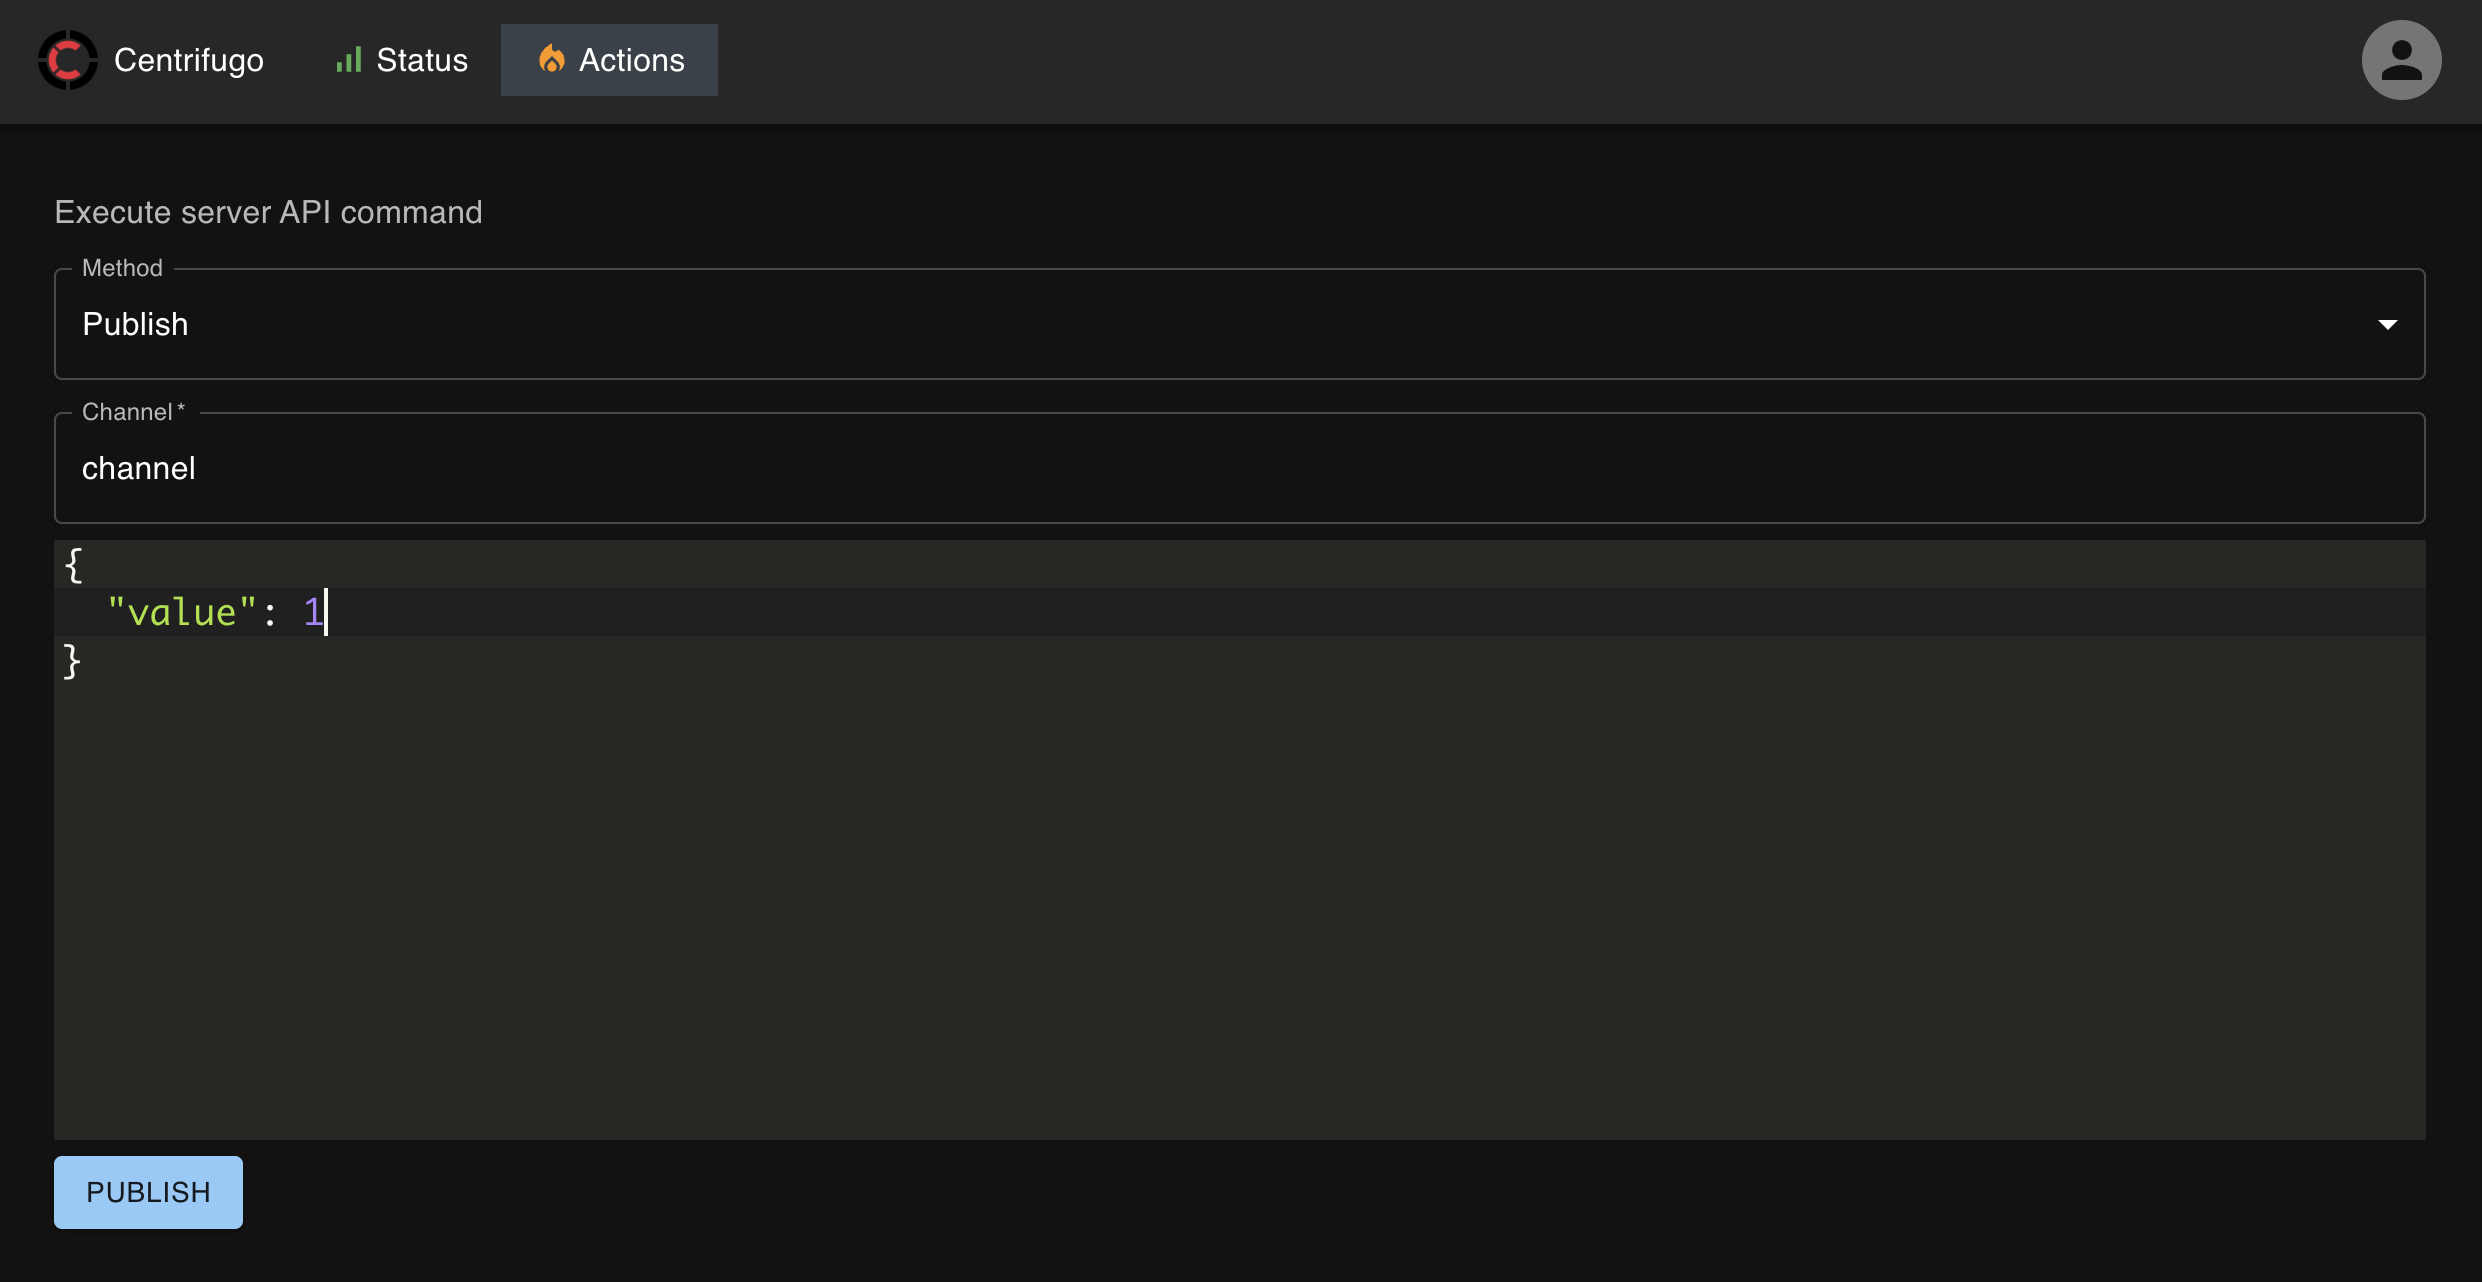
Click PUBLISH — the counter should instantly appear in your app tab.
Open several browser tabs with the app and publish again — all tabs update simultaneously.
You can also publish from the terminal using the server API:
curl --header "Content-Type: application/json" \
  --header "X-API-Key: d7627bb6-2292-4911-82e1-615c0ed3eebb" \
  --request POST \
  --data '{"channel": "channel", "data": {"value": 2}}' \
  http://localhost:8000/api/publish
Use the http_api.key value from your config for the X-API-Key header.
What's next?
You've built a working real-time app with Centrifugo. From here:
- Integration guide — how to properly integrate Centrifugo with your application backend
- Chat tutorial — build a full messenger app from scratch
- Configuration — explore all server options