Adding Nginx as a reverse proxy
As mentioned, we are building a single-page frontend application here, and the frontend will be completely decoupled from the backend. This separation is advantageous because Centrifugo users can theoretically swap only the backend or frontend components while following this tutorial. For example, one could keep the frontend part but attempt to implement the backend in Laravel, Rails, or another framework.
For general user authentication, we will utilize native Django session authentication, which relies on cookies. For optimal security, we will employ HTTP-only cookies. To make such a setup compatible with the SPA frontend, we should serve both the frontend and backend from the same domain.
For more details, you can refer to this excellent tutorial: Django Session-based Auth for Single Page Apps. It provides a thorough explanation of the approach used here, along with other options for configuring Django in SPA scenarios.
While any reverse proxy can be used, we will use Nginx, one of the most popular reverse proxies globally. Here is the configuration for Nginx, placed in the nginx/nginx.conf file:
user www-data;
worker_processes auto;
pid /run/nginx.pid;
include /etc/nginx/modules-enabled/*.conf;

events {
  worker_connections 1024;
}

http {
  upstream backend {
    server backend:8000;
  }

  upstream frontend {
    server frontend:5173;
  }

  upstream centrifugo {
    server centrifugo:8000;
  }

  server {
    listen 80;

    server_name localhost 127.0.0.1;

    location /api {
      proxy_pass          http://backend;
      proxy_http_version  1.1;
      proxy_redirect      default;
      proxy_set_header    Upgrade $http_upgrade;
      proxy_set_header    Connection "upgrade";
      proxy_set_header    Host $host;
      proxy_set_header    X-Real-IP $remote_addr;
      proxy_set_header    X-Forwarded-For $proxy_add_x_forwarded_for;
      proxy_set_header    X-Forwarded-Host $server_name;
    }

    location /admin {
      proxy_pass          http://backend;
      proxy_http_version  1.1;
      proxy_redirect      default;
      proxy_set_header    Upgrade $http_upgrade;
      proxy_set_header    Connection "upgrade";
      proxy_set_header    Host $host;
      proxy_set_header    X-Real-IP $remote_addr;
      proxy_set_header    X-Forwarded-For $proxy_add_x_forwarded_for;
      proxy_set_header    X-Forwarded-Host $server_name;
    }

    location /static {
      proxy_pass          http://backend;
      proxy_set_header    Host $host;
      proxy_http_version  1.1;
      proxy_redirect      default;
    }

    location /connection/websocket {
      proxy_pass          http://centrifugo;
      proxy_http_version  1.1;
      proxy_redirect      default;
      proxy_set_header    Upgrade $http_upgrade;
      proxy_set_header    Connection "upgrade";
      proxy_set_header    Host $host;
      proxy_set_header    X-Real-IP $remote_addr;
      proxy_set_header    X-Forwarded-For $proxy_add_x_forwarded_for;
      proxy_set_header    X-Forwarded-Host $server_name;
    }

    location / {
      proxy_pass          http://frontend;
      proxy_http_version  1.1;
      proxy_redirect      default;
      proxy_set_header    Upgrade $http_upgrade;
      proxy_set_header    Connection "upgrade";
      proxy_set_header    Host $host;
      proxy_set_header    X-Real-IP $remote_addr;
      proxy_set_header    X-Forwarded-For $proxy_add_x_forwarded_for;
      proxy_set_header    X-Forwarded-Host $server_name;
    }
  }
}
And add Nginx to docker-compose.yaml file:
nginx:
  image: nginx:1.25
  volumes:
    - ./nginx:/etc/nginx/
  ports:
    - 9000:80
  depends_on:
    - backend
As you may noticed we added several locations to Nginx:
/api- this is an entrypoint for backend REST API. We will implement it shortly./admin- serves Django built-in admin web UI, it will allow us to create some rooms to interact with/static- to serve Django admin static files/connection/websocket- this is a proxy to Centrifugo service, we will setup Centrifugo later in this tutorial/– and finally root path serves the frontend app, we will be creating it soon too.
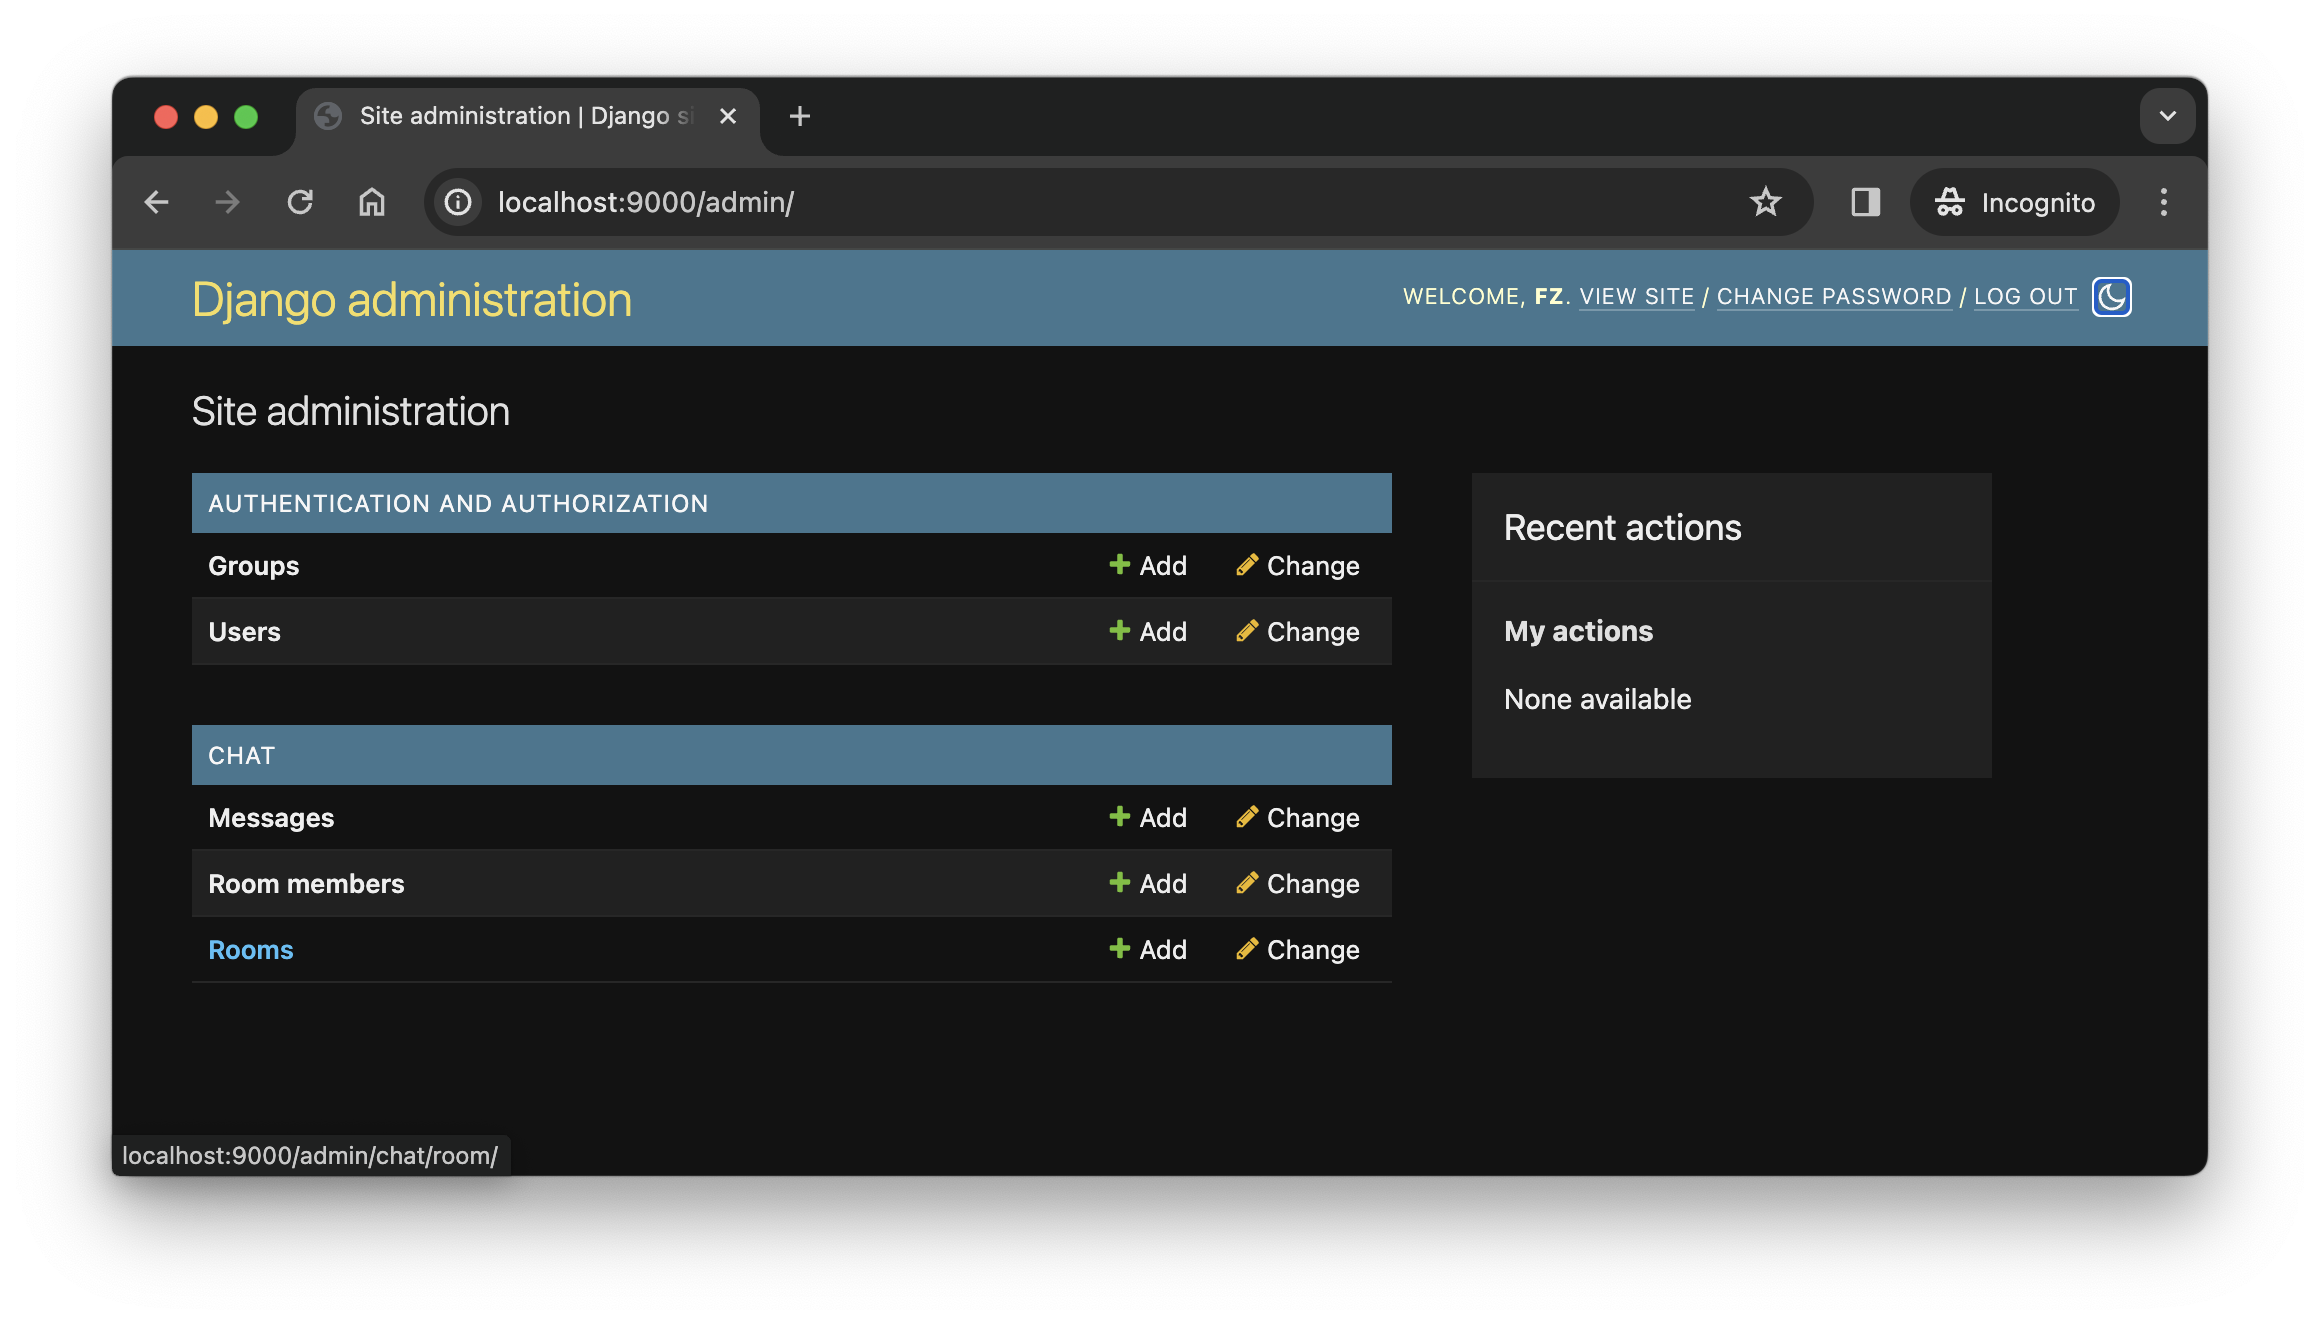
Run the app, go to http://localhost:9000/admin – authenticate using superuser credentials created previously and create some rooms.
 Now it's time to build the frontend part of the app – to display user rooms, join/leave rooms and create new messages.